A few weeks ago, Tando Creative had these mini books on Hochanda and I knew the minute I saw them that I wanted them! They arrived just before Christmas and I've got so many ideas of how I want to decorate them.
First off though is this mini square book. It is about 2 inches square and has a separate spine that needs to be attached with masking tape, ribbon or material.
Covers -
Firstly I painted the covers with white acrylic to give it a good base. I then painted over this with a pearlescent blue acrylic paint. Then I ran it through the embossing folder, which I probably should have done first because some of the paint flaked off (I did just go over it again though)
Then I painted 2 chipboard flowers in the same shade of blue. I used my versamark pen around the edges and then heat embossed some blueberry powder onto it
For the ribbon, this was seam binding that I had from Stampin' Up. It's a cream colour but I used ink to colour it in pink to go with the theme of the book
I attached the spine on the outside with some pink ribbon I had. For extra security I used masking tape on the inside and painted over it.
The ribbon was attached both back and front with strong tape. Just remember not to pull it too tight around the book as it still needs to open!
Pages -
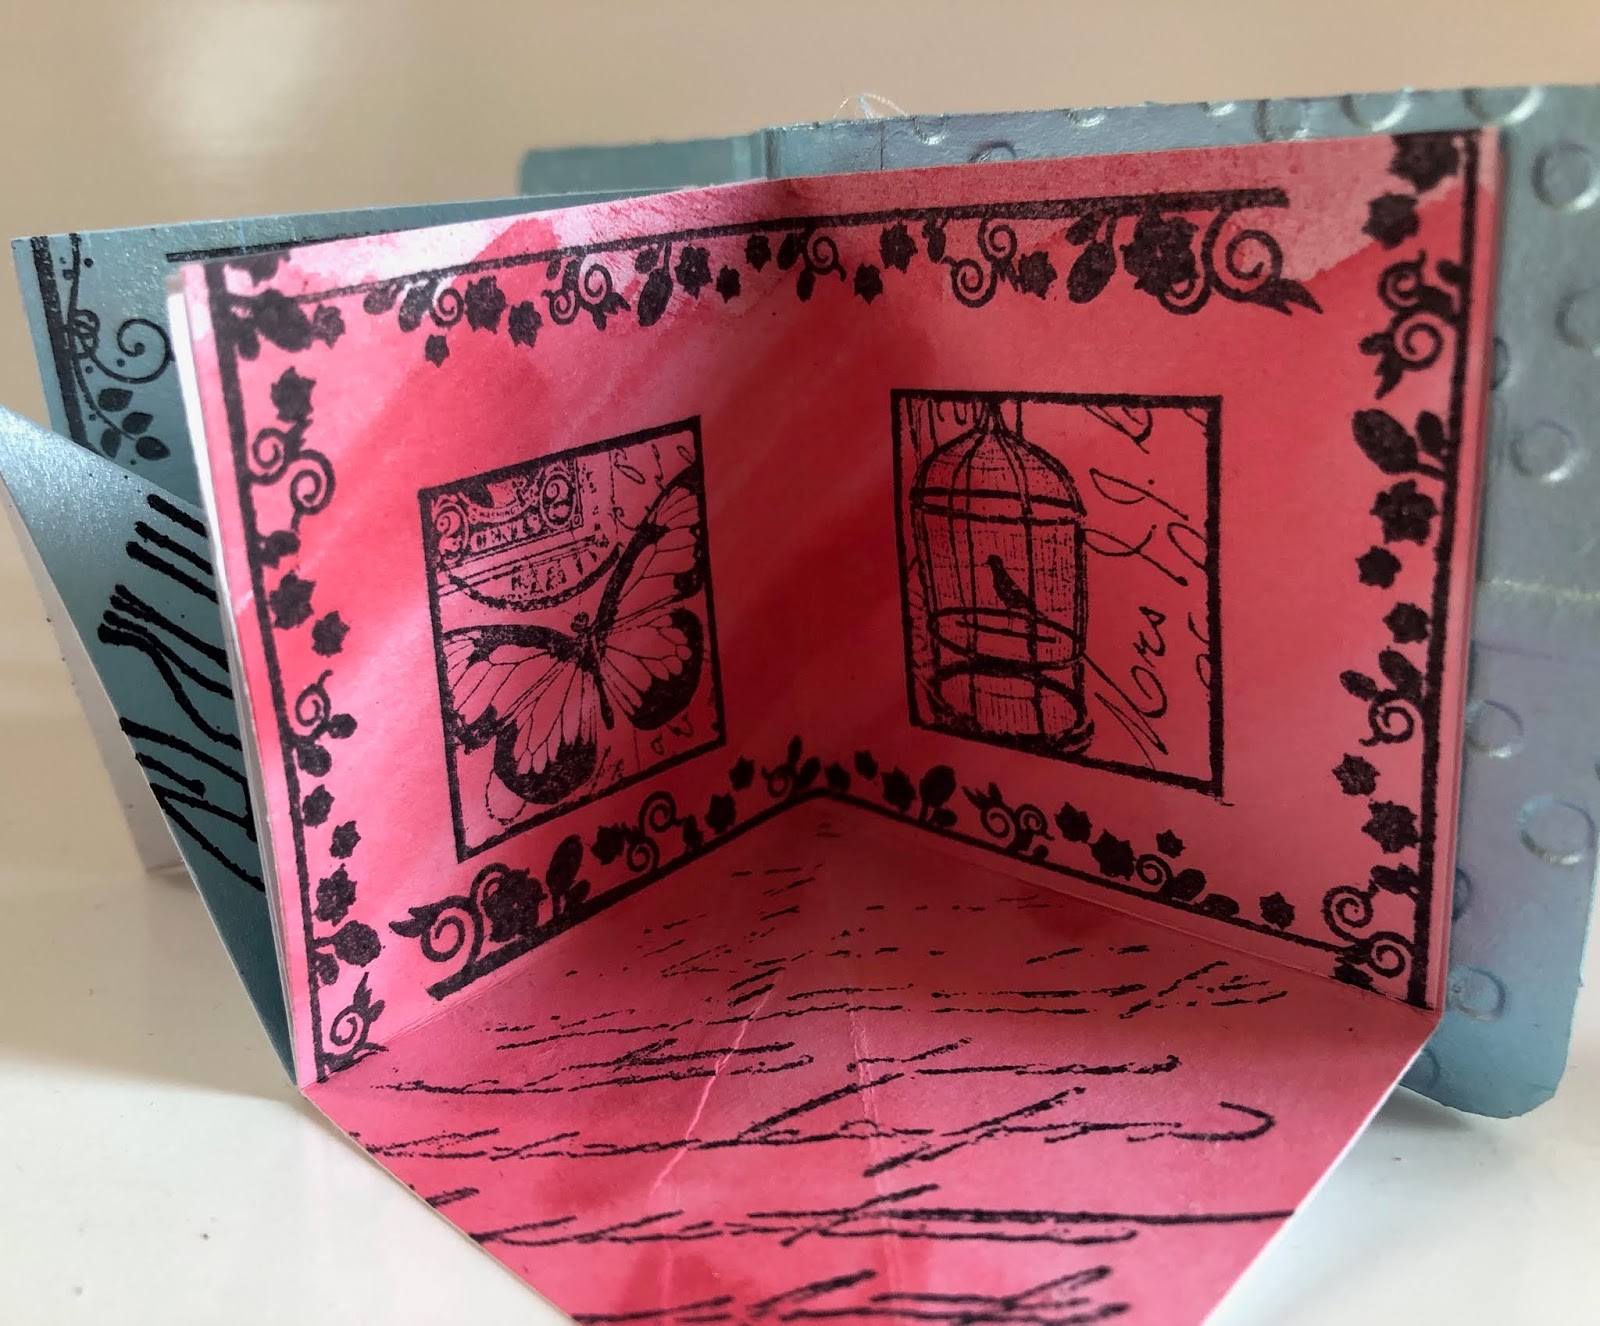
For the pages, I was inspired by a tutorial on the Hochanda show to make a pop out book that looks like the below:
I cut a square of paper that was 4" x 4" and then folded it in half then half again. I used a variety of inks and paints in the blue and pink shades to colour in the pages
I then used my Darkroom Door Garden Inchies stamps on the pages. They were the perfect size to add a stamped border around.
For the bottom page I used a mask and some Crafty Individuals stamps that I had forgotten about
The page below I used the same blue pearl paint mixed with water so it wasn't so thick. I then used WOW! powder in black glint, which gives it a very subtle shine to the images. The images are also much bolder than the ones stamped with regular ink.
Although it's not perfect, I loved making this book and I can't wait to make the other 10 that I have. There is also a little shelf for them all to sit on, which I will have to show you at a later date.
Claire x
Showing posts with label crafty individuals. Show all posts
Saturday, 29 December 2018
Wednesday, 6 February 2013
60 years memory album
At the end of January, my aunty reached the big 60 and as a special present for her, I decided to make her a memory album with some carefully selected pictures from hundreds of photo albums. It was hard to choose which ones to use as I couldn't fit them all in, but I was pleased with the results.
I decided to group it into chronological order and I used quite a lot of the new products from the new Papermania Vintage Notes collection. I bought some of the 12x12 paper and was pleased to find that it had a linen finish to it, giving it that high quality feel.
For the cover I bought some of the adhesive material that Papermania have started doing. It was quite hard to punch through with the bind it all machine and I had to carefully trim some of the excess bits with my craft knife:
The doily was die-cut into vellum with one of the new Xcut dies and I had to spend ages poking all the intricate holes out. I used chipboard letters which I painted with pearlescent pink paint, and some adhesive numbers from the Papermania birthday range. The extra large flowers were layered together and finished with a pink button in the middle.
I won't put all the pages on here just in case there are some pictures that she doesn't like! But some of my favourite pages are these:
I had lots of black and white pictures of when her and my mum were young which worked very well together on a double page spread:
I had some mini banner stamps which I used to date each picture. For an extra special finish I heat embossed them with black powder.
My next favourite is the garden double page spread. I found some film strip embellishments from Crafty Individuals and the colours in the strip matched the colours in the garden perfectly.
Which is then followed by this page. I searched everywhere for some sewing themed paper to match the cross stitch pictures I had, and I found a lovely 12x12 glittered sheet which worked so well. Unfortunately, the pictures themselves took up quite a bit of space so I couldn't use as much of the paper as I would have liked to.
The album was presented to my aunty a few weeks ago and she loved it - which I'm very glad about as it did take quite a long time to do.
Now I've got the buzz for making memory albums I need to find some more pictures from the many photo albums!
Subscribe to:
Posts (Atom)